Uploading a small file with curl
In this tutorial we will upload a small file with less than 4MiB (2^22 = 4194304 bytes). The reason for this is that any larger file will have to be split into blocks of this size and we want so start easy.
Uploading a file consists of three steps:
- Start a file upload (See also: Upload Start)
- Upload data blocks (See also: Upload Data)
- Finalize file (See also: Upload Finish)
This has the imporant advantages, that a large upload can be interrupted and continued at any time. Especially for low bandwith or very large files with several gigabytes this is very useful.
1. Start a file upload
For this step you need:
- The exact size of the file in bytes
- A valid session id
- The id of the folder where the file should be created
To get the file size we can use wc
wc -c < my_file.jpg
42396
To get a new session id check out the Quickstart. The easies way to get the folder id is to look it up in the cloudplan portal.
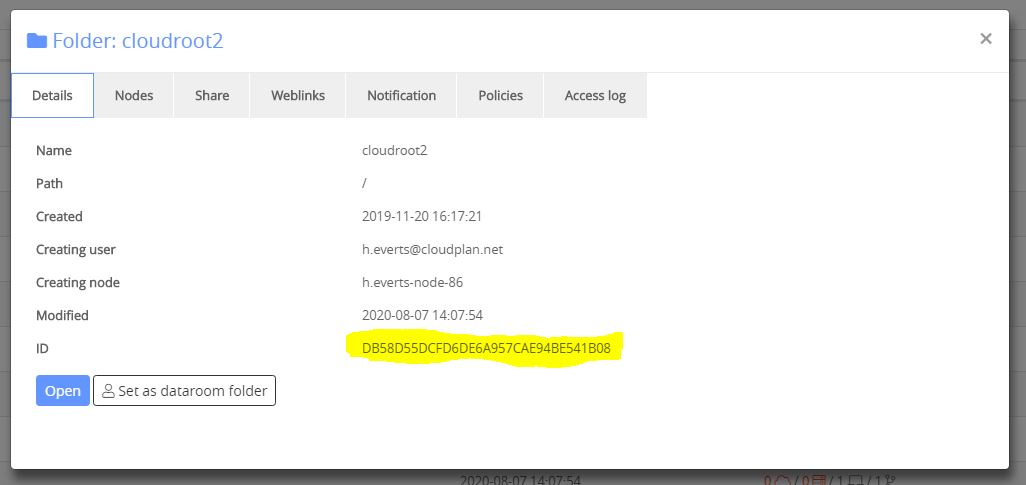
In the portals folder list click on the info symbol behind the folder name (i) to get infos like the folder id
With all those infos we now build and execute our curl command.
Note
Replace the folder id DB58D55DCFD6DE6A957CAE94BE541B08 and session id 5F2D4841A4E18F1B12F79AF537A921E6 in all requests with your own values. Maybe also use a different file name.
curl -d '{"file_name":"my_file.jpg","parent_id":"DB58D55DCFD6DE6A957CAE94BE541B08","file_size":42396}' -H "session_id: 5F2D4841A4E18F1B12F79AF537A921E6" -X POST https://test-uni.cloudplan.biz/api/file/upload_start

{"node_type":"cloud","file_id":"5F2D4AB91BC97885CCD8EA83EA14FD9E","node_id":"5C17C7695C97BF00166618E601086D9E","result":true}
This request will return us a few things:
- The ‘node_type’ where the file will be uploaded. In our case the file will be uploaded to a private cloud node.
- The temporary ‘file_id’. We will use this for the next requests.
- The ‘node_id’ we don’t need that in this case.
2. Upload data blocks
Because our file is smaller than 4MiB we can make the whole upload in one api call.
Note
In the ‘file-id’ header we are using the temporary file id from the previous curl result
curl --data-binary "@my_file.jpg" -H "session_id: 5F2D4841A4E18F1B12F79AF537A921E6" -H "file-id: 5F2D4F24B80FFA4989D89F27FEB71551" -X POST https://test-uni.cloudplan.biz/upload
{"result":true}
3. Finalize file
With the data uploaded we can finalize the file and check if we can see it in the cloudplan portal.
curl -d '{"file_id":"5F2D4F24B80FFA4989D89F27FEB71551"}' -H "session_id: 5F2D4841A4E18F1B12F79AF537A921E6" -X POST https://test-uni.cloudplan.biz/api/file/upload_finish
{"new_file_id":"5F2D4F24B80FFA4989D89F27FEB71551","result":true,"temp_file_id":"5F2D4F24B80FFA4989D89F27FEB71551"}
This gives us:
- result true, so we can now check the portal and see our file!
- The ‘new_file_id’ which is the actual file id after the upload
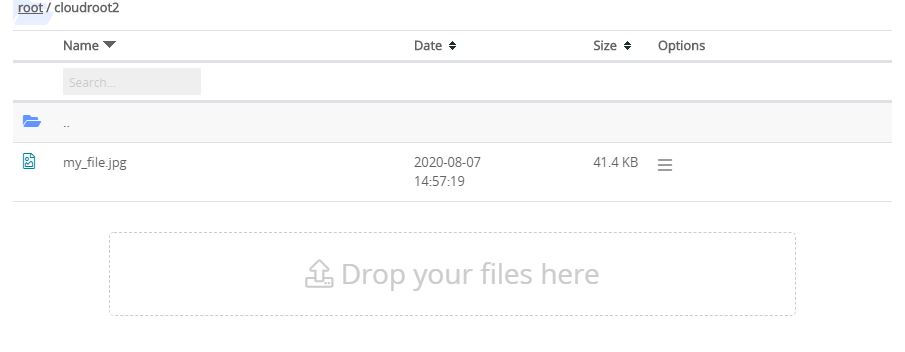
The file is now show in the portal