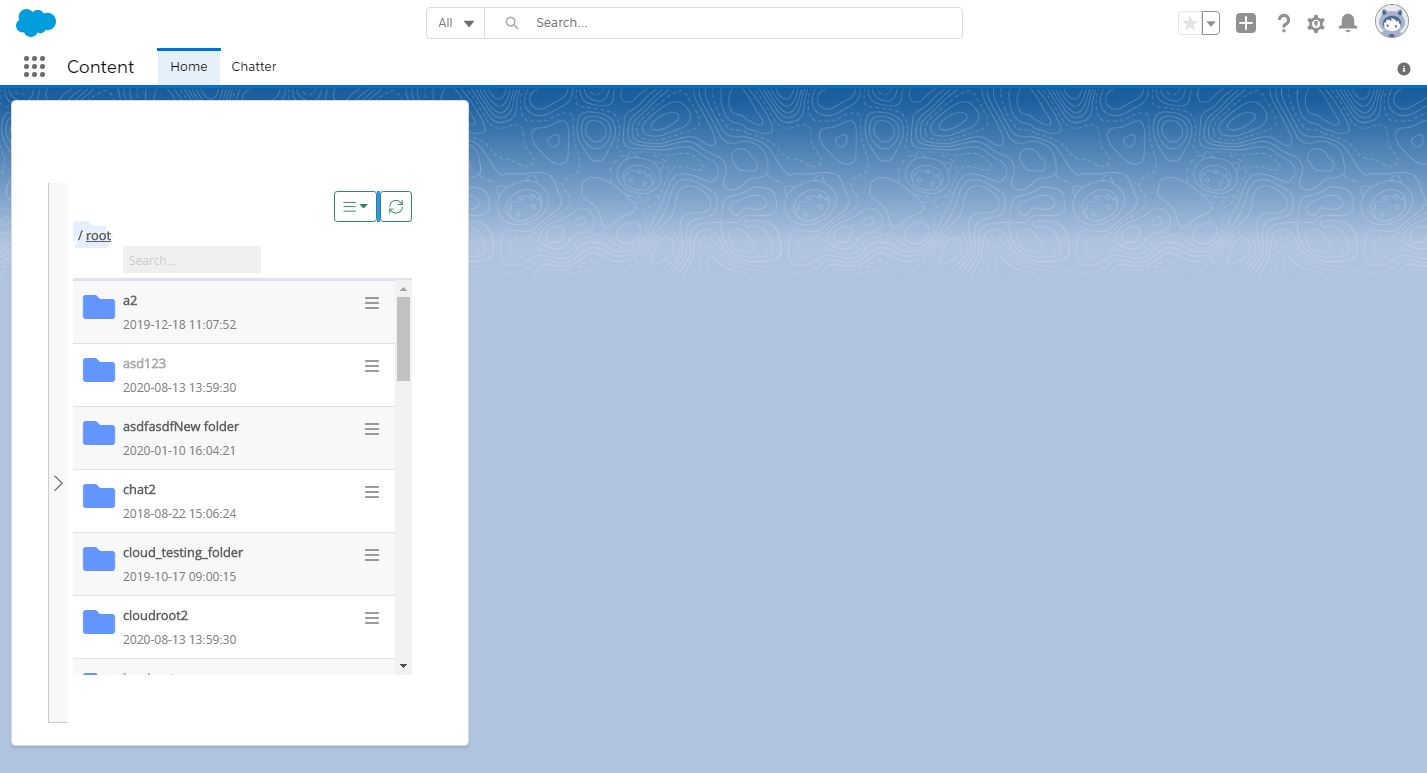
Integrate cloudplan file browser as iframe in salesforce home page
In this tutorial we will create a Visualforce page and use cloudplan API keys to embed cloudplan into an iframe.
- Get the API key from cloudplan
- Create an Apex Class for building the iframe
- Create a Visualforce page
- Add the Visualforce page to the salesforce home page
1. Get the API key from cloudplan
In cloudplan navigate to Management > Global Settings > Logon. If you are an admin user you will see a list of API keys that is probably still empty. Create a new API key with two purposes:
user.login
user.create
This will allow users that have authorized logins by your organisation to be logged in with this API key and it allows new users to be created automatically.
Copy the key for use in the next step.
example API key:
5F4375E973F6886D8A9B5208EDFB2AC8
2. Create an Apex Calss for building the iframe
Navigate to Custom Code > Apex Classes and create a new class, then paste this code into the editor and replace the example api key with your own API key.
public class CloudplanDynamicComponent {
    public CloudplanDynamicComponent(ApexPages.StandardController con) { }
    public Component.Apex.PageBlock getCloudplanIFrameBlock() {
        Component.Apex.PageBlock dynPageBlock = new Component.Apex.PageBlock();

        //get email
        String userName = UserInfo.getUserName();
        User activeUser = [Select Email From User where Username = : userName limit 1];
        String userEmail = activeUser.Email;

        //use api_key and email to the get iframe src
        Http http = new Http();
        HttpRequest request = new HttpRequest();
        request.setEndpoint('https://uni.cloudplan.biz/special/iframe_src');
        request.setMethod('POST');
        request.setHeader('Content-Type', 'application/json;charset=UTF-8');
        request.setBody('{"api_key":"5F4375E973F6886D8A9B5208EDFB2AC8","email":"' + userEmail + '"}');
        HttpResponse response = http.send(request);

        if (response.getStatusCode() != 200) {
            //unexpected server error
            Component.Apex.SectionHeader sectionHeader = new Component.Apex.SectionHeader();
            sectionHeader.title = 'Unknown Error';
            dynPageBlock.childComponents.add(sectionHeader );
        }
        else {
            //actually build iframe
            Component.Apex.IFrame iframe = new Component.Apex.IFrame();
            iframe.src = response.getBody();
            dynPageBlock.childComponents.add(iframe);
        }

        return dynPageBlock;
    }
}
Note
This code is making an API request to https://uni.cloudplan.biz you have to add this url in Security > Remote Site Settings
Note
To take over the coloring scheme from the calling organization, please append this parameter to the URL call for the iframe: ?organisation_root_css=<org_cp_id>
3. Create a Visualforce page
In Salesforce Setup navigate to Custom Code > Visualforce Pages. Create a new page with the ‘New’ button in the middle of the page just above the list.
Copy and paste this code into the pages editor. You don’t have to make any changes.
<apex:page standardController="Account" extensions="CloudplanDynamicComponent">
    <style>
        .bPageBlock {
            border: 0px !important;
        }
        .pbBody {
            margin: 0px !important;
        }
    </style>
    <apex:dynamicComponent componentValue="{!cloudplanIFrameBlock}"/>
</apex:page>
Give the page a label and name e.g. ‘cloudplan’.
Check the box Available for Lightning Experience, Lightning Communities, and the mobile app then save the page.
3. Add the Visualforce page to the salesforce home page
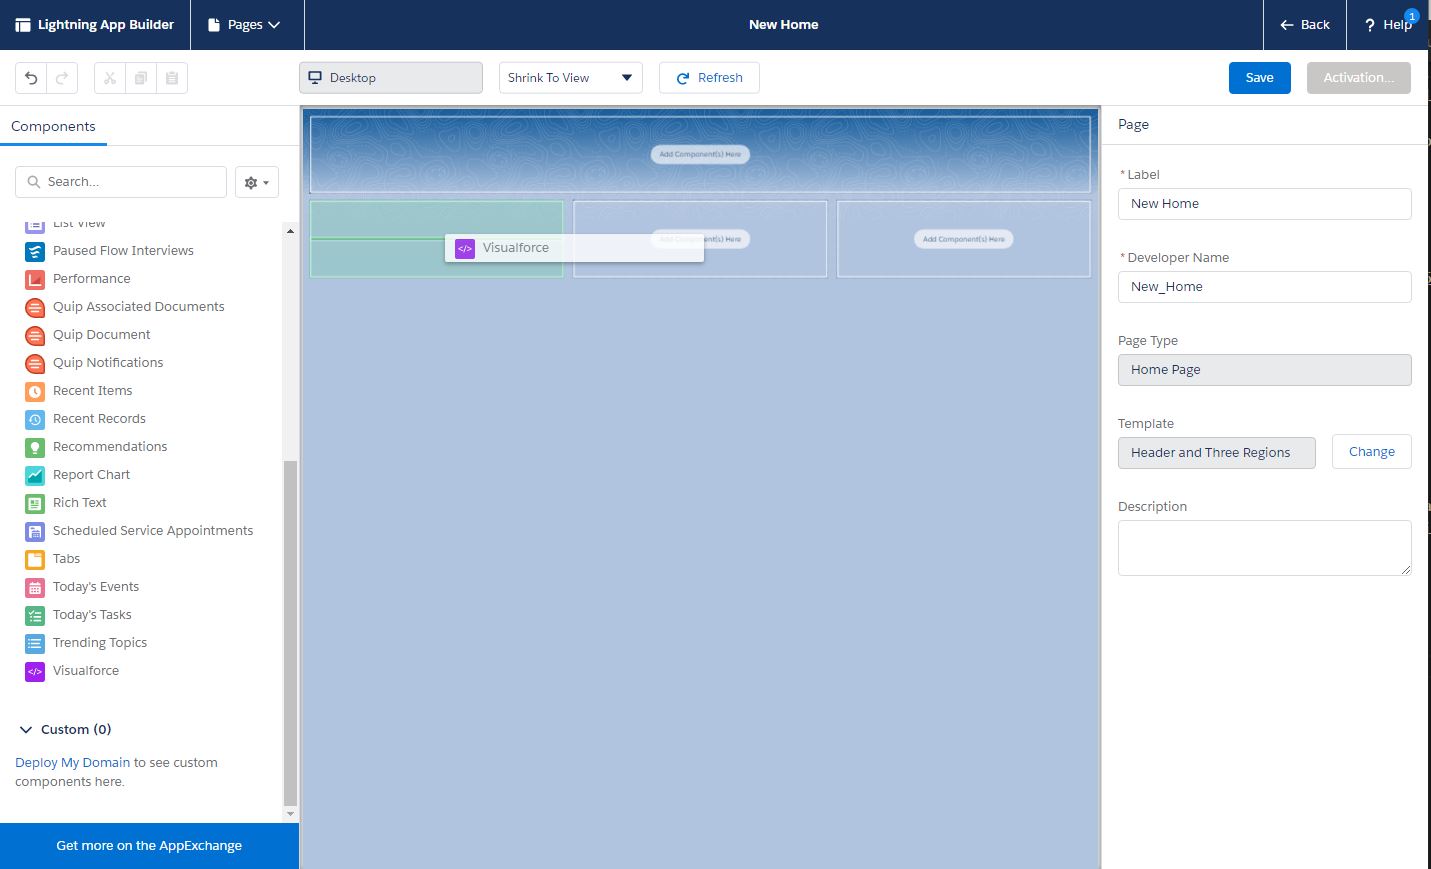
If you have created a custom home page you can add the new Visualforce page there. Otherwise you will have to create a new one. To do that you navigate to User Interface > Lightning App Builder.
- Click the ‘New’ button to launch the App Builder and create a new Home Page
- Give it a label e.g. “New Home”
- Choose your favourite layout
- On the left side you can see all available components
- Drag & Drop a Visualforce component in the place where the cloudplan iframe should be shown
- When you select the newly added component you have some options in the right sidebar.
- Uncheck the Show Label box.
- Choose ‘cloudplan’ from the Visualforce Page Names
- Set height to 620px
- Save & Activate the page